1. Gather the Right Tools First things first – having the right tools is crucial for a successful grouting job. Here's what you'll need:
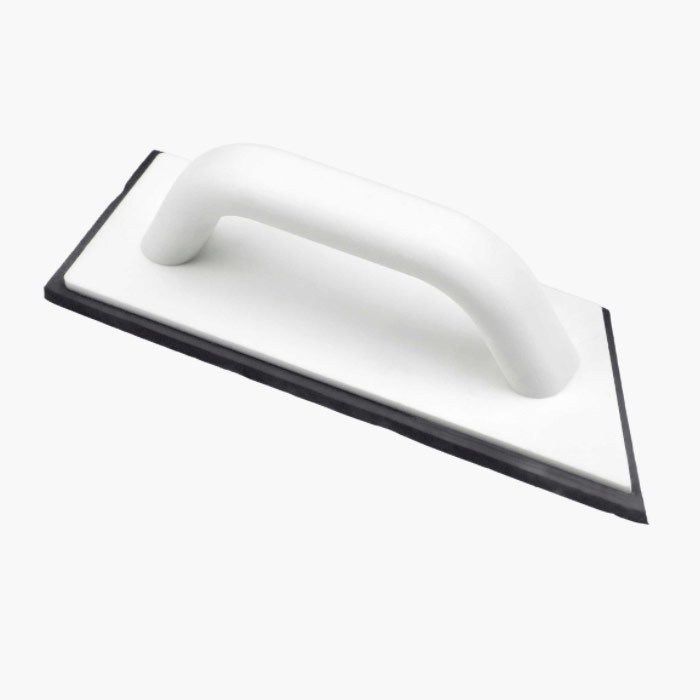
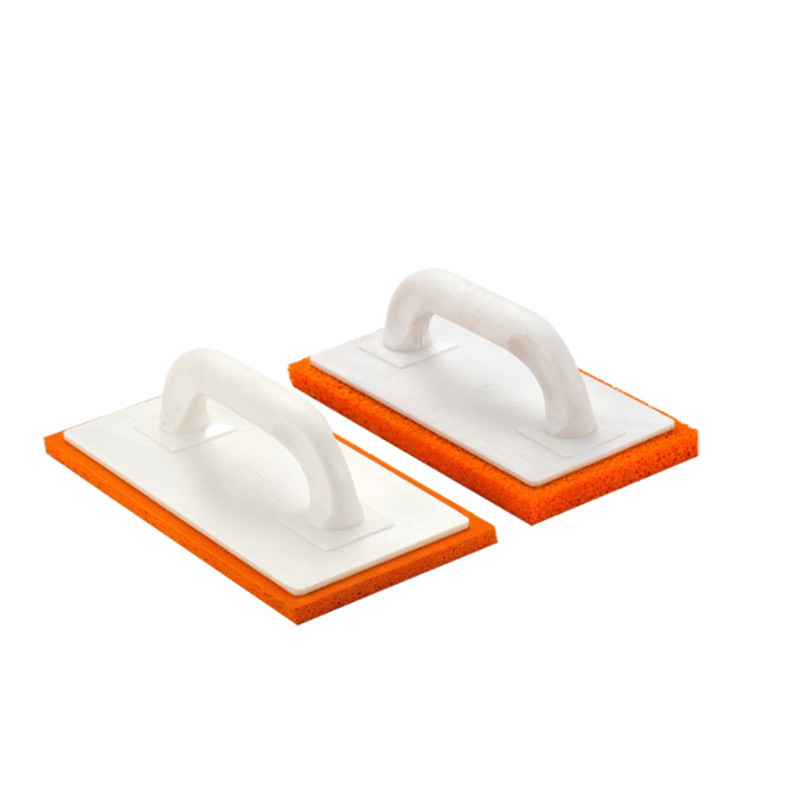
*Two Buckets: Prepare two buckets for your job site – one for mixing grout and another for clean rinse water. *Grouting Sponges: Invest in good-quality grouting sponges. These sponges make the grouting process smoother and more efficient. *Grout Float: A reliable grout float is your go-to tool for packing the grout into the joint. Make sure you have one on hand for precise application. 2. The Packing Technique Now that you have your tools ready, it's time to get to work. Follow these steps for a seamless grouting process:
*Pack It In: Start by packing as much grout as possible into the joint using your grout float. This ensures that the joint is filled uniformly and prevents air pockets. *Sponging Manicure: After packing the joint, use your grouting sponge to manicure the grout. The key here is to move in small circles, gently smoothing and shaping the grout for a clean finish. This step helps distribute the grout evenly, for a polished and professional look.
3. Striking the Joint Striking the joint is an essential step in achieving a professional result. Here's how to do it effectively:
*Use the Sponge: Take your sponge and apply a bit of pressure with your middle finger. Run it across the grout joint in one smooth motion. *Flip and Repeat: Flip the sponge and repeat the process by applying pressure with your middle finger. This step helps in compacting the grout further and gives it a neat appearance. *Rinse: After striking the joint, rinse your sponge in clean water. Rinsing the sponge helps eliminate any excess grout haze, ensuring a clean and pristine finish. By following these tips and techniques, you'll be well on your way to grouting like a pro. Remember, practice makes perfect, so don't be discouraged if your first attempt isn't flawless. With a bit of patience and the right tools, you can achieve beautiful grout lines that enhance the overall look of your DIY project. | 

 0
0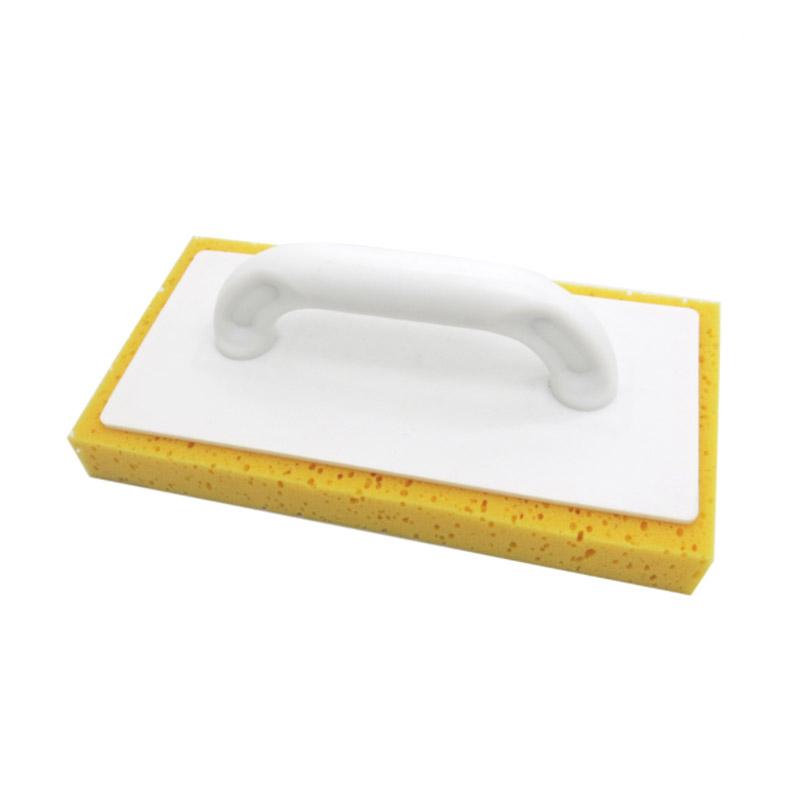


 CN
CN ENGLISH