


Foam Tape Not Sticking? 10 Common Causes and Fixes
Foam Tape Not Sticking? 10 Common Causes and Fixes
Self-adhesive foam tape can fail even when the adhesive feels tacky. In many cases, the real problem is surface contamination, material mismatch, poor application, unsuitable foam selection, or continuous stress on the joint.
Before changing to a “stronger” tape, identify where the bond failed and check the following ten factors.
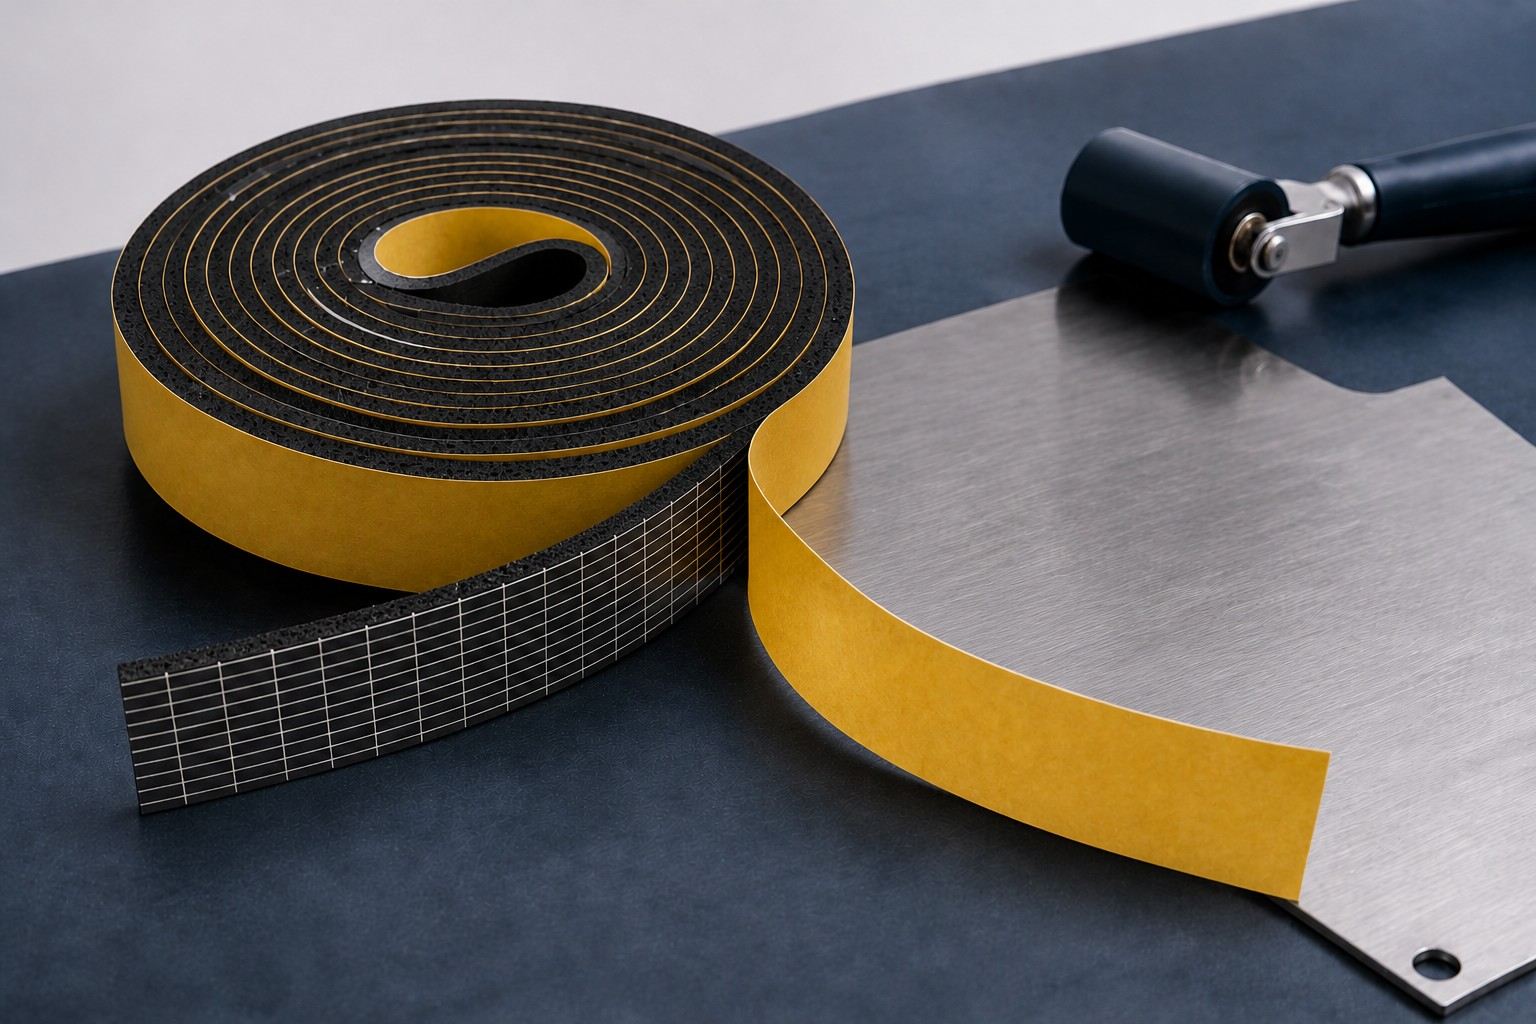
Reliable bonding depends on the foam, adhesive, substrate, application process, and joint design.
Quick Check: Where Did the Bond Fail?
Failure sign | Check first |
Adhesive stays on the foam | Check the substrate for dust, oil, moisture, roughness, or low surface energy. |
Adhesive stays on the substrate | Check how well the adhesive is anchored to the foam. |
The foam tears | Check foam strength, density, compression, and applied load. |
Only the edges lift | Check pressure, corners, bend radius, stretching, and peel stress. |
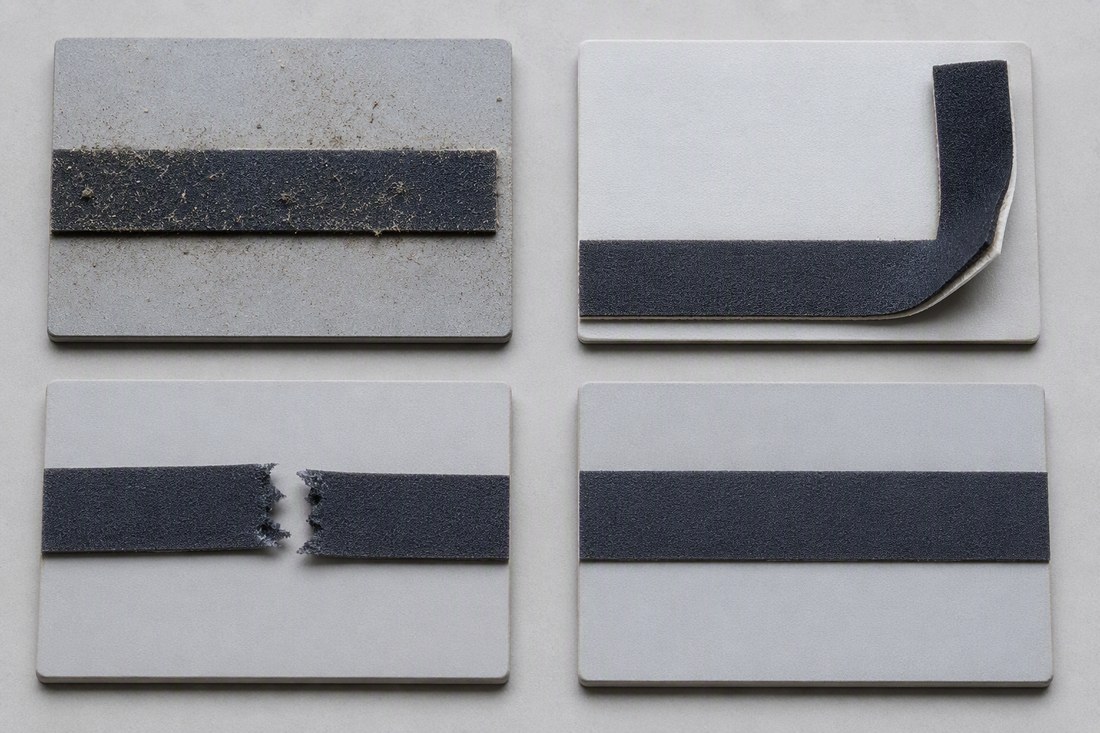
Typical clues include contamination, edge lifting, foam tearing, and a flat control sample.
10 Common Causes and Solutions
1. Dust, Oil, or Moisture on the Surface
Contamination prevents the adhesive from making full contact with the substrate. Fix: Clean the bonding area with a compatible cleaner, allow it to dry, and avoid touching it before application.
2. The Adhesive Does Not Match the Substrate
Metal, coatings, rubber, glass, and plastics have different surface characteristics. PE and PP are especially difficult for many general-purpose adhesives. Fix: Confirm the exact substrate and test on the production material. Use a compatible adhesive or supplier-recommended primer when required.
3. The Adhesive Does Not Anchor to the Foam
Foams vary in chemistry, cell structure, surface skin, and additives. Good adhesion to the final part does not guarantee good anchorage to the foam. Fix: Test both interfaces: adhesive-to-foam and adhesive-to-substrate.
4. Application Pressure Is Too Low
Pressure-sensitive adhesive needs even pressure to wet out the surface. Light finger pressure may leave areas with poor contact. Fix: Use a roller, platen, or fixture across the complete bonding area.
5. The Bond Is Loaded Too Soon
Initial tack is not the same as final bond strength. Early bending, pulling, testing, or packing can weaken the bond. Fix: Allow the dwell time specified by the adhesive supplier before applying load.
6. Application Temperature Is Unsuitable
Low temperature can reduce wet-out, while excessive heat may soften the adhesive. Cold parts may also develop condensation. Fix: Condition the tape and parts within the recommended application range and keep the surface dry.
7. The Surface Is Rough, Porous, or Unstable
Rough surfaces reduce contact area, and loose paint, powder, fibers, or dust can detach with the tape. Fix: Remove unstable material and consider sealing, priming, smoothing, or another attachment method.
8. Foam Thickness or Density Is Incorrect
Thin foam may not fill a gap. Thick or stiff foam can spring back, while very soft foam may tear under load. Fix: Select the foam according to gap, compression, movement, load direction, and service conditions.
9. Storage Is Poor or the Tape Has Aged
Heat, humidity, sunlight, dust, damaged packaging, and long-term compression can affect the foam, adhesive, or release liner. Fix: Keep the tape in its original packaging in a clean, dry, shaded location and manage stock by batch and shelf life.
10. The Joint Creates Continuous Peel Stress
Sharp corners, tight bends, stretched installation, small bonding areas, or spring-back can keep pulling at the edge. Fix: Use rounded corners where practical, avoid stretching the foam, and improve the bend radius and bonding area.
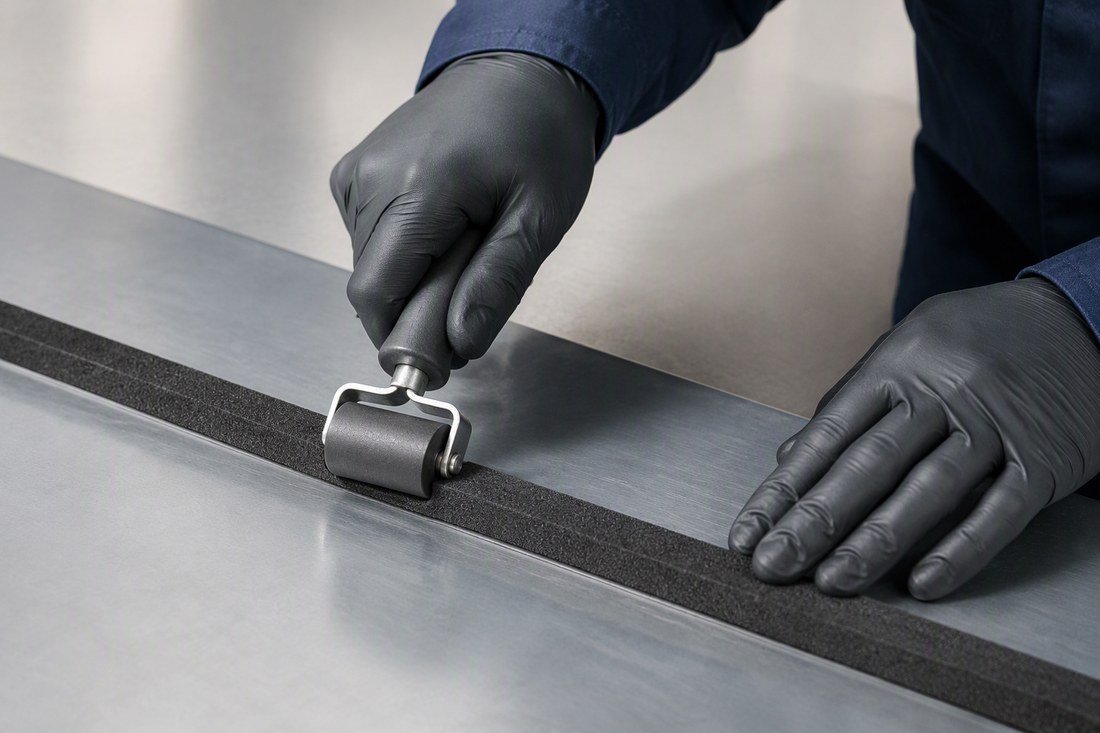
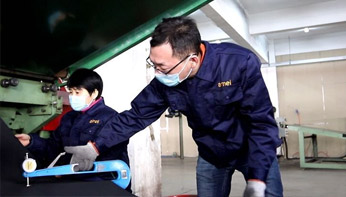
Even pressure helps the adhesive make fuller contact with the substrate.
Installation Checklist
• Confirm the foam, adhesive, substrate, coating, and service environment.
• Clean and dry the bonding surface.
• Apply the tape without stretching, wrinkles, or trapped contamination.
• Press the full bonding area evenly.
• Allow sufficient dwell time before loading or testing.
• Test the complete assembly under actual service conditions.
Conclusion
Foam tape adhesion is a system issue, not simply a question of adhesive strength. The best results come from matching the foam, adhesive, substrate, installation process, joint design, and service environment—and verifying the complete assembly with practical testing.
Need help selecting self-adhesive foam? Send us the substrate, dimensions, service temperature, contact media, and expected quantity. Our team can help review the application and sample requirements. |
Technical note: Cleaner selection, application temperature, dwell time, primer use, and storage life should follow the technical data for the actual adhesive system and be confirmed by application testing.
Technical References
For further reading, the following manufacturer resources explain three important parts of pressure-sensitive tape bonding: surface preparation, application pressure, and low-surface-energy plastics.
• tesa: How to Prepare Surfaces for Taping— an overview of cleaning surfaces before tape application.
• tesa: Professional Bonding Tape Processing Instructions— guidance covering clean, dry surfaces, condensation prevention, and pressure application.
• 3M: Solutions for Bonding Low Surface Energy Materials— background on bonding difficult materials such as PE and PP.