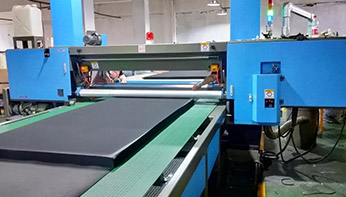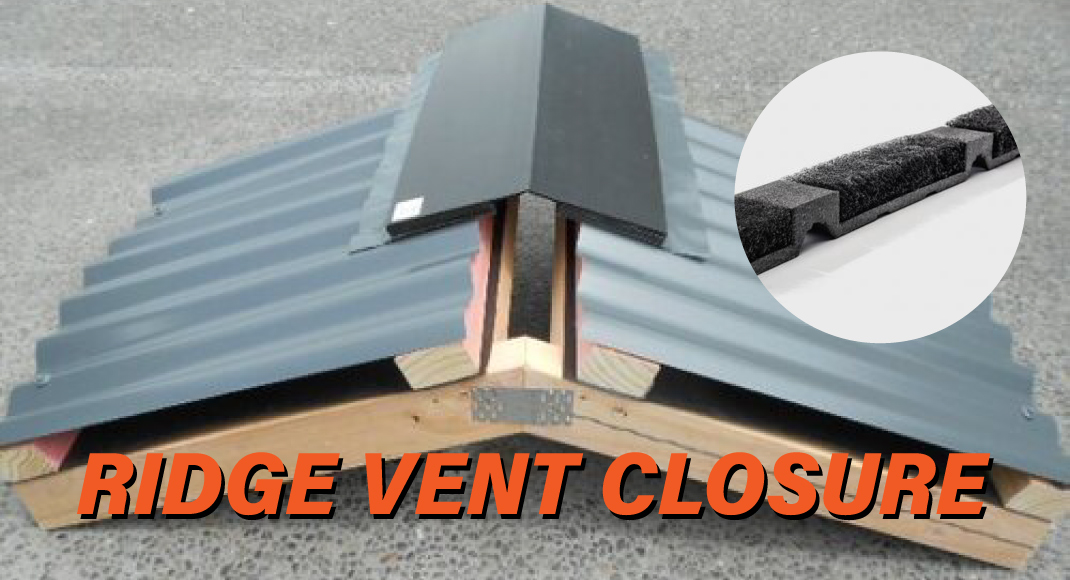
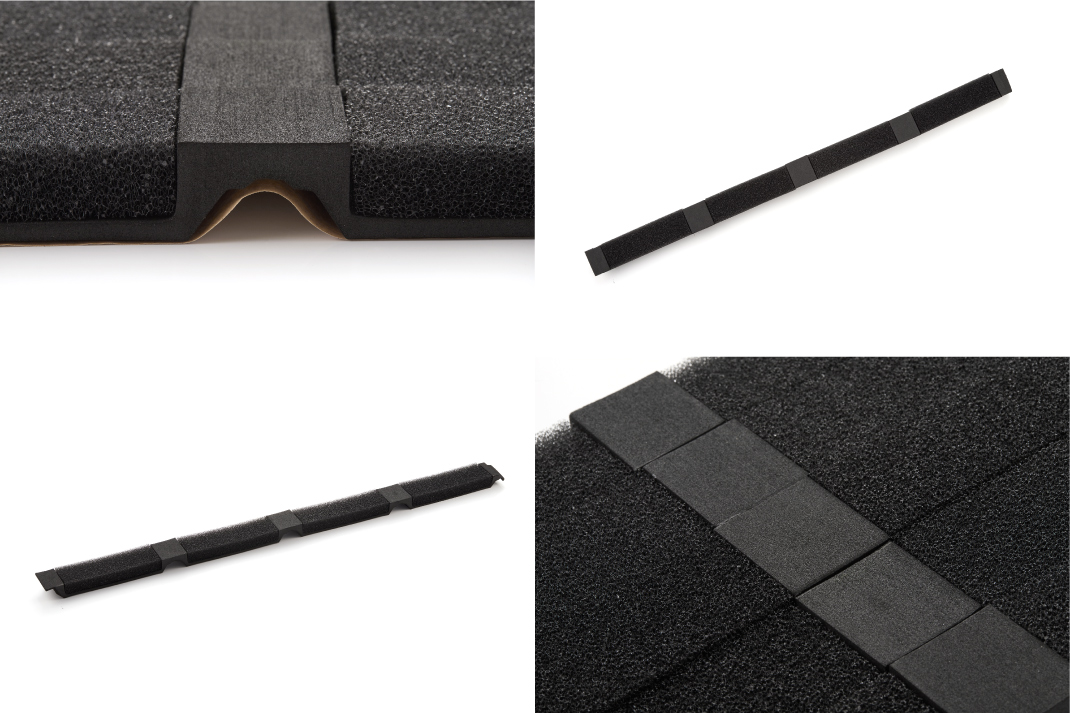
Our LP2 Ridge Vent is made from non-fabric-covered Python vent material. This durable, modified polyester is a non-woven, non-wicking, fiber-based matting. Its specially cut contours provide a custom, low-profile fit for any pitch and most major metal roof profiles. LP2 provides a superior net-free ventilation area that helps keep out moisture, pests and dust. Plus, LP2 can be installed by just one person in three easy steps. In fact, the screw bed and industrial strength peel-and-stick adhesive pre-applied to LP2 makes this one of the easiest installations imaginable.
How to install ridge vent closure foam?
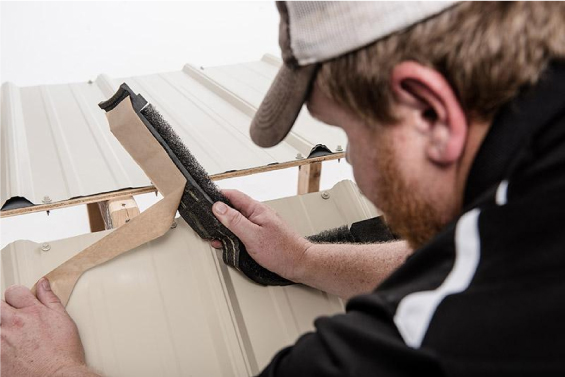
Comes 75 feet to a box, in twenty-five 3-foot sections. With LP2’s double bead of industrial strength adhesive, one person can simply remove the peel-and-stick strips to apply LP2 to the metal roof, then secure the ridge cap over the LP2 with fasteners or nails. It’s that easy!
What You'll Need
Equipment / Tools
 STEP 1 
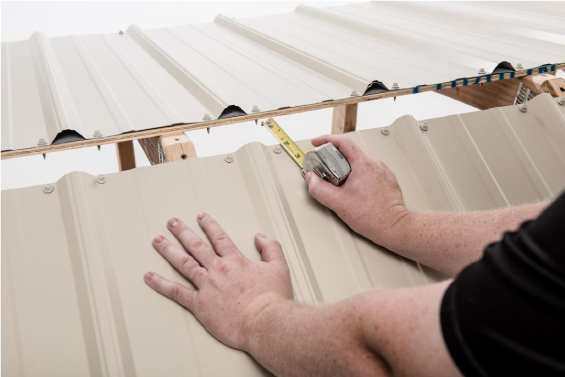
Allow a 2" slot at the ridge of the metal roof for ventilation. Apply the LP2 Ridge Vent to metal roof by removing the backing paper.
| | 
STEP 2 
Align the LP2 Ridge Vent 1/2"-1" up-slope from the edge of the ridge cap. Place onto metal roof with adhesive side down. Note that the adhesive is strong and once put in place it will be hard to move. Be sure the LP2 Ridge Vent is in place the first time.
| | 
STEP 3 
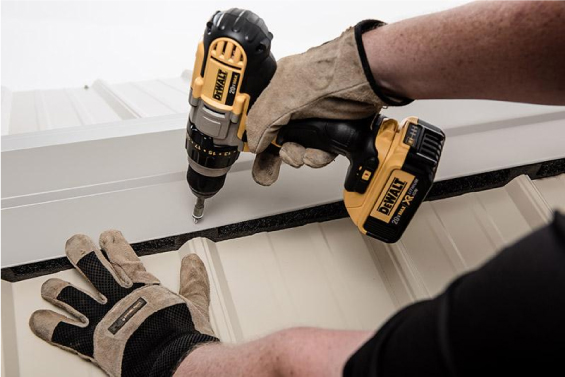
When attaching consecutive LP2 Vents, butt fit the pieces together. Place ridge cap over LP2. Secure in place with fasteners; fasten through the metal roof ridge locations utilizing the screw bed locations to avoid penetrating the LP2 insert material utilizing the screw bed locations.
|


 CN
CN ENGLISH


